How to Display Multiple Paint by Numbers Canvases as a Gallery Wall
Completing a paint by numbers canvas is incredibly rewarding — but when you’ve painted several, the question becomes: what should you do with all this beautiful art? One of the most eye-catching and satisfying options is to turn your collection into a custom gallery wall.
Whether you've created custom kits from favorite photos, seasonal themes, pet portraits, or landscapes, a gallery wall lets you show off your creativity in a stylish, meaningful way. In this guide, you’ll learn how to curate, arrange, and hang your paint by numbers canvases like a pro.

Why Create a Gallery Wall?
Gallery walls aren’t just for professional artists or interior designers. They offer several benefits for DIY creators:
- Celebrate your creative journey
- Fill an empty space with personal flair
- Tell a visual story (travel, pets, family, etc.)
- Make use of multiple finished canvases
- Create an art display that evolves over time
Best of all, gallery walls are flexible — you can start with just a few paintings and add more as you go.
Step 1: Choose the Right Wall
Start by selecting a wall that gets some natural light and serves as a focal point in your space. Ideal locations include:
- Living room feature wall
- Stairway wall or hallway
- Bedroom or office backdrop
- Entryway to welcome guests
- Craft or hobby room for creative inspiration
Measure the available space so you can plan the layout.
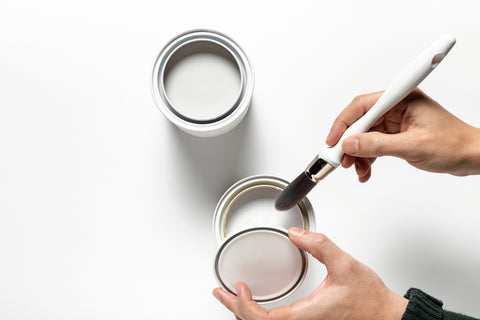
Step 2: Select and Prepare Your Canvases
Before arranging, ensure all paintings are clean, dry, and sealed. You can enhance presentation by:
- Framing each piece for a polished look
- Stretching canvases on wooden frames for depth
- Using uniform sizes for a clean, modern grid
- Mixing sizes for an eclectic, artistic effect
Optional: Add plaques or small labels to identify subjects or dates.
Step 3: Choose a Theme or Story
A strong theme ties your wall together. Here are some ideas:
- Chronological: Display your first painting to your most recent to show progress
- Color scheme: Choose works that share a color palette (pastels, bolds, earth tones)
- Subject: Group by type (pets, landscapes, florals, portraits)
- Occasion: Display paintings from holidays, anniversaries, or travels
If your paintings are custom kits from PaintYourNumbers.com, you likely already have a cohesive visual story.
Step 4: Plan the Layout
Now comes the fun part: designing your wall. Before hammering any nails, lay your paintings on the floor to test arrangements. You can also use paper cutouts taped to the wall.
Here are a few layout ideas:
- Grid: Equal spacing and identical frame sizes for a modern look
- Salon Style: Mix sizes and frame styles with close spacing for a cozy, eclectic feel
- Symmetrical: Mirror-image layout using matching frames and central anchor piece
- Vertical or Horizontal Rows: Great for narrow walls or staircases
Tip: Maintain consistent spacing — usually 2 to 3 inches between each piece.
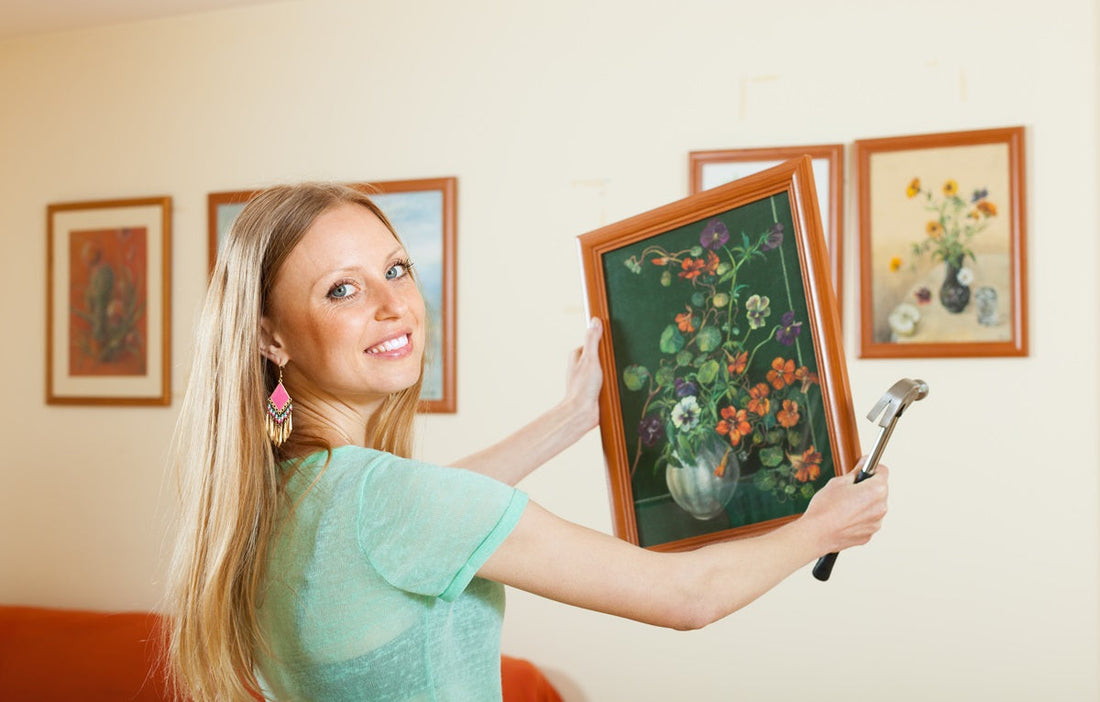
Step 5: Hang Your Art with Care
Once you’ve finalized your layout:
- Use a level and measuring tape for precision
- Choose appropriate hanging hardware (hooks, command strips, sawtooth hangers)
- Start with the central piece and build outward
- Adjust spacing as needed for balance and flow
If renting, opt for removable hanging strips that won’t damage walls.
Step 6: Add Creative Extras
To make your gallery wall even more personal, consider adding:
- Quotes or decals that reflect your art’s theme
- Photos that inspired the paintings
- 3D elements like small shelves with art supplies, plants, or trinkets
- Lighting such as picture lights or LED strips to enhance visibility
These additions help turn your gallery wall into a dynamic, multi-layered display.
Step 7: Keep It Fresh
A gallery wall doesn’t have to be permanent. Rotate new paintings in or out depending on:
- Season (e.g., winter scenes in December)
- Mood or theme
- Gifts or newly finished projects
This keeps your space interesting and allows you to showcase your latest work.
Bonus: Display Ideas for Small Spaces
Short on wall space? Try these alternatives:
- Bookshelves: Prop smaller canvases upright
- Mini easels: Display on desks or countertops
- Floating shelves: Lean artwork against the wall with layered depth
- Cork boards: Pin unframed or lightweight pieces for easy swaps
Even a small cluster of 2–3 canvases can have a big visual impact.
Final Thoughts
Your paint by numbers artwork deserves more than a drawer or closet. By turning your canvases into a gallery wall, you’re not just decorating your home — you’re creating a tribute to your creativity, dedication, and personal stories.
Start with a theme, plan your layout, and take your time hanging each piece. The result? A custom wall of art that transforms any room and brings you joy every time you walk by.
🎨 Ready to grow your gallery? Start your next masterpiece with a custom kit from PaintYourNumbers.com, and add something new to your wall with every brushstroke.