How to Seal a Finished Paint by Numbers Painting
Whether you’ve just completed your first paint by numbers masterpiece, or you’ve completed many, you may be wondering how you can protect and enhance the beauty of your painting. Sealing a finished paint by numbers painting is a crucial step in ensuring your artwork remains vibrant and preserved for years to come. The following steps will cover the why’s and how’s of sealing your artwork effectively and bringing out the best in your finished masterpiece.
Why Seal a Paint by Numbers Painting?
1. Protecting Your Artwork
One of the primary reasons for sealing a paint by numbers painting is to provide a protective barrier against external elements. Without proper sealing, your artwork is prone to damage from dust, moisture, UV rays, and other environmental factors. Sealing creates a shield that helps prevent color fading, yellowing, and deterioration.
2. Enhance the Look of Your Painting
Sealing your painting can significantly enhance its overall appearance. The sealer adds a layer of depth and sheen to the artwork, making the colors appear more vibrant and captivating. It can bring out the intricate details and textures, giving your masterpiece a professional and polished finish.
3. Preserving Your Work for Longer
By sealing your painting, you’re effectively extending its lifespan. The sealer acts as a safeguard against accidental spills, fingerprints, and other physical damage that may occur during handling or display. With proper sealing, you can ensure that your artwork remains in pristine condition for years to come.
4. Preventing Color Bleeding and Smudging
Should your painting come into contact with moisture or other substances, sealing your painting can help prevent color bleeding and smudging. By applying a sealer, you can secure the colors in place, so they remain vibrant and do not mix or smudge.
5. Facilitating Easy Cleaning and Maintenance
Sealed paint by numbers paintings are easier to clean and maintain. The sealer creates a protective layer that can be wiped clean without damaging the underlying paint layers making it easier to remove dust or any accidental marks on its surface.
In short, sealing your painting offers numerous benefits, from protecting your artwork and enhancing its visual appeal to extending its lifespan and ease of maintenance.
What Do You Need to Seal a Paint by Numbers Painting?
To seal your painting effectively, you will need a few essential supplies.
1. Choosing the Right Sealer
Selecting the appropriate sealer is crucial for achieving the desired results. There are several types of sealers available, each with its own characteristics and application methods. Here are some common options to consider:
- Acrylic Varnish: Acrylic varnish is a popular choice. It’s available in gloss, satin, or matte finishes, allowing you to choose the level of sheen you prefer. It’s also easy to apply and dries quickly, providing a protective layer over the painted surface.
- Spray Varnish: Spray varnish is a convenient option for sealing large paintings with intricate details. It comes in aerosol cans, allowing for even and smooth application. Spray varnish is available in different finishes, providing protection and enhancing the appearance of your painting.
- Mod Podge: Mod Podge is a versatile sealer that can be used for various crafting projects, including sealing paint by numbers It’s available in matte, satin, and gloss finishes, offering different levels of sheen. Mod Podge can be applied with a brush, sponge, or roller, depending on your preference.
- Resin: Resin is a more advanced option for sealing paintings. It provides a durable, glossy, and glass-like finish. However, working with resin requires careful preparation and application, as it involves mixing and pouring a two-part epoxy resin.
Consider the desired level of shine, ease of application, and the specific requirements of your artwork when choosing the sealer for your painting. In addition to the sealer you choose, other supplies are needed to ensure a successful sealing process.
2. Other Necessary Supplies
- Paintbrushes: Select a set of high-quality brushes suitable for applying the sealer. Choose brushes with different sizes to accommodate both larger and smaller areas of your painting.
- Palette or Disposable Plate: Use a palette or a disposable plate to pour and mix the sealer, ensuring easy access during the application process.
- Lint-free Cloth or Paper Towels: These will come in handy for cleaning and preparing the surface of your painting before sealing, as well as for any necessary touch-ups during the process.
- Masking Tape: Masking tape can be used to protect any areas of your painting that you do not want to be sealed. Apply the tape carefully to ensure clean and precise edges.
- Drop Cloth or Newspaper: Use a drop cloth or newspaper to protect your work area from any potential spills or drips during the sealing process.
By gathering these essential supplies, you’ll be well prepared for the following step by step process to seal your painting effectively.
Steps for Sealing a paint by numbers Painting
Sealing your painting is a straightforward process, but one that requires careful attention to detail. These step-by-step instructions will ensure the best results.
1. Preparing Your Painting
Before you begin the sealing process, it’s essential to prepare your painting properly.
- Ensure that the paint on your artwork is completely dry. Allow sufficient time for the paint to cure according to the instructions provided with your paint kit.
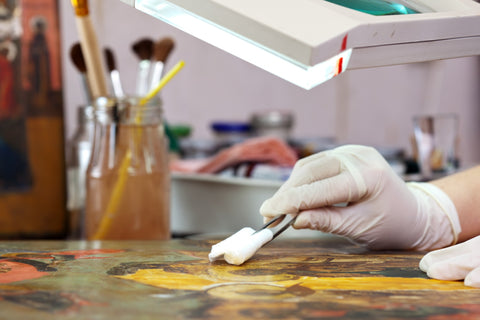
- Clean the surface of your painting using a lint-free cloth or paper towel. Remove any dust, debris, or fingerprints that may have accumulated.
- If desired, lightly sand any rough or uneven areas on the surface of your painting to create a smooth and even surface for the sealer to adhere to.
- Protect any areas of your painting that you do not want to be sealed by applying masking tape along the edges. Apply the tape carefully to ensure clean lines.
2. Applying the Sealer
Once your painting is prepared, you’ll apply the sealer in a well ventilated area.
- Stir or shake the sealer according to the manufacturer's instructions. This ensures that any settled particles are evenly distributed throughout the sealer.
- Pour a small amount of the sealer onto a palette or disposable plate. Dip your paintbrush into the sealer, ensuring that the bristles are evenly coated.
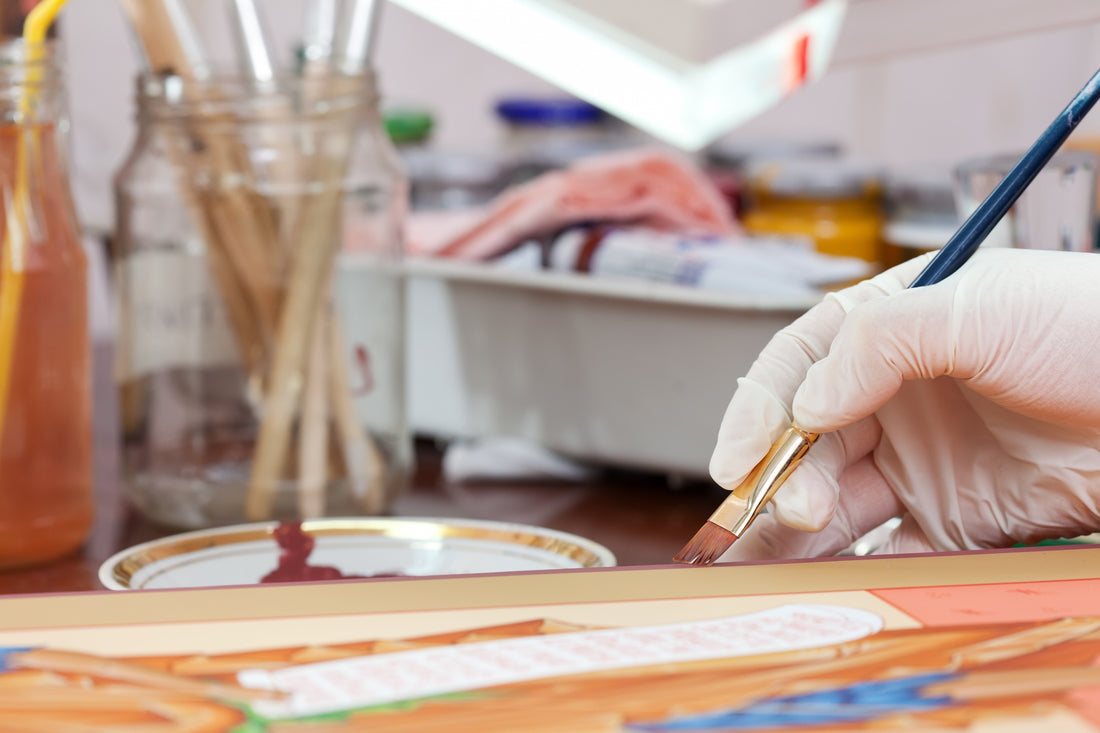
- Begin applying the sealer to your painting, starting from one corner and working your way across the surface. Use smooth and even brush strokes, applying a thin and even layer of sealer.
- Pay special attention to any areas with intricate details or textured surfaces. Make sure the sealer covers these areas adequately, ensuring consistent protection and enhancement across the entire painting.
- Allow the first layer of sealer to dry according to its This may take anywhere from a few hours to overnight, depending on the type of sealer used.
- Once the first layer is dry, assess the overall appearance of your painting. If desired, apply additional layers of sealer, following the same process of applying thin and even coats. Multiple layers can provide added protection and enhance the sheen of your painting.
3. Drying and Curing Process
After applying the final layer of sealer, it is crucial to let your painting dry properly.
- Allow your painting to dry undisturbed in a well-ventilated area. Avoid touching or moving the painting during the drying process to prevent any smudging or damage to the sealer.
- The drying time may vary depending on the type of sealer used. It is recommended to refer to the instructions for the specific drying time required.
- Once the sealer is dry, you may notice a slight tackiness or stickiness. This is normal for certain sealers. Allow sufficient time for the sealer to cure, as specified by the manufacturer. This curing process ensures that the sealer hardens and provides maximum protection to your painting.
By following these steps, you can effectively seal your paint by numbers painting, providing protection, enhancing the appearance, and preserving your artwork for the long term, however, there are some common mistakes you’ll want to avoid.

Avoid Common Mistakes When Sealing a Paint by Numbers
While sealing a paint by numbers painting is a relatively simple process, avoid these common mistakes to ensure the best possible outcome for your artwork.
1. Applying Too Much Sealer
One of the most common mistakes when sealing a painting is applying too much sealer. Thick layers of sealer can result in a cloudy or uneven appearance, and it may take longer to dry and cure properly. To avoid this mistake, apply thin and even coats of sealer, allowing each layer to dry before applying additional coats if necessary.
2. Not Allowing Enough Drying Time
Rushing the drying process is another common mistake to avoid. It is essential to allow sufficient drying time between each layer of sealer and before moving or handling the painting. Failure to do so can lead to smudging, smearing, or a compromised finish. Refer to the specific drying time recommended by the sealer manufacturer. It will be well worth it to be patient during the process!
3. Improper Storage after Sealing
After sealing your painting, it is crucial to store it properly to maintain its integrity. Avoid stacking or placing heavy objects on top of your sealed painting, as this can cause the sealer to crack or become damaged. Store your artwork in a clean and dry location, away from direct sunlight and extreme temperature or humidity fluctuations.
4. Using the Wrong Sealer for Your Painting
Choosing the wrong type of sealer for your paint by numbers painting can lead to unsatisfactory results. Each sealer has its own characteristics, such as the level of sheen and compatibility with different surfaces. Ensure that the sealer you choose is suitable for acrylic paints and the specific surface of your artwork. Read the product labels and instructions carefully to make an informed decision.
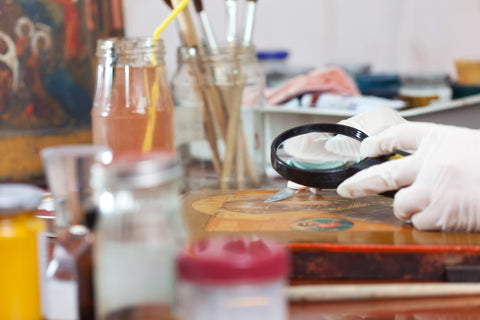
5. Neglecting Touch-Ups and Maintenance
Once your painting is sealed, it is important to periodically inspect and perform any necessary touch-ups or maintenance. Over time, the sealer may develop minor cracks or imperfections. Regularly assess your artwork and address any issues promptly to maintain its longevity and appearance. Follow the manufacturer's instructions for any recommended touch-up or maintenance procedures.
By avoiding these common mistakes and taking the necessary precautions, you can ensure that your paint by numbers painting is properly sealed and preserved. Remember to follow the instructions provided by the sealer manufacturer and take your time during the entire sealing process. With proper care, your sealed artwork will continue to captivate and bring joy for years to come.